Corn snakes (Pantherophis guttatus, previously Elaphe guttata) are incredibly popular for beginner snake keepers.
If you are interested in learning how to breed corn snakes, this guide can help teach you what you need to breed corn snakes successfully.
- Step 1: Confirm That Your Snakes are Ready
- Step 2: Preparing for Brumation
- Step 3: Brumation
- Step 4: Waking Your Snakes
- Step 5: Pre-Breeding Shed
- Step 6: Mating
- Step 7: Gravidity
- Step 8: Preparing to Lay
- Step 9: Laying and Readying for Incubation
- Step 10: Incubation
- Step 11: Hatching
- Step 12: Caring for Snakelets
- Selling or Keeping
- Preparing for Next Year
- Resources
- Conclusion
Step 1: Confirm That Your Snakes are Ready

The most obvious requirement is that you need a male and female corn snake that are sexually mature.
Male corn snakes will be over 2 years of age at sexual maturity, while females will be over 3.
They can develop earlier, but giving your snakes more time to grow will help make sure that breeding doesn’t kill them. Males will typically refuse food during the breeding season, and females will cease eating as the eggs take up more space in her body.
You want your snakes to be as healthy as possible before you even consider breeding them. Any signs of health problems mean that you should wait until the next year before you breed your snake.
You should look into your local snake market to make sure that the babies you produce will have a home. Corn snakes can produce 15 babies easily, so you will need to care for all of those snakes until you have homes ready for them.
You should make sure your snakes aren’t closely related for your first pair, since it is easy for a beginner to miss signs that a pair is likely too closely related to make healthy babies.
You should also make sure that you know a bit about corn snake genetics.
If you are going for a specific look, understanding the genes behind the appearance can help make sure you can achieve your goal.
Make sure you also understand any health risks to the babies. Most morphs are so outcrossed that you won’t see health issues. However, it has been noted that some lines may still have problems.
Lavenders are known for kinking if they are incubated at too high of a temperature. Do your research and talk to breeders to make sure you are ready to handle anything that may come from breeding.
Be prepared for the possiblity that your babies may not make it or may need to be euthanized. Sometimes even with the best care a baby may be born with severe abnormalities that aren’t compatible with life.
Be ready for the possibility and do what is best for the snake.
Step 2: Preparing for Brumation
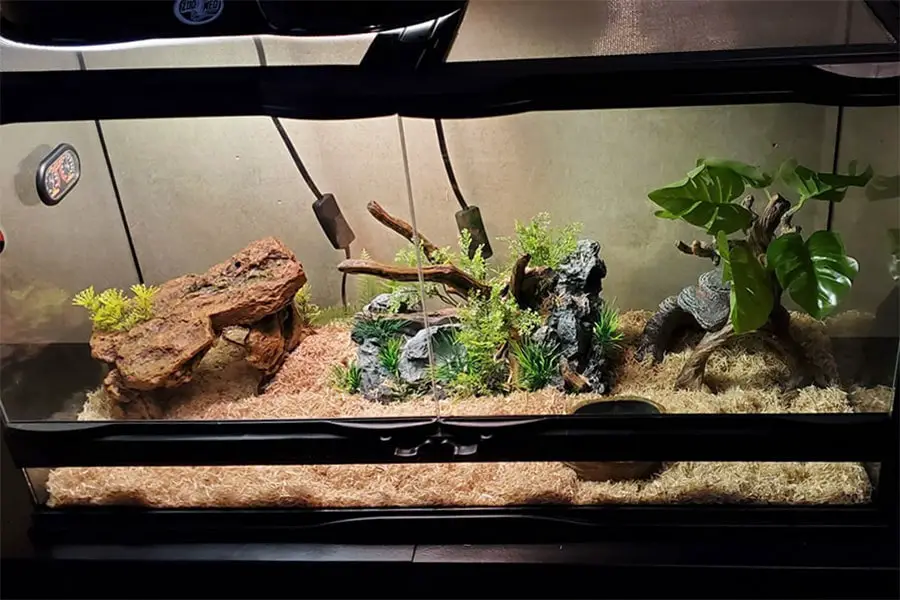
Corn snakes need lower temperatures and light levels to help signal that they need to start making eggs or sperm. You should time your breeding to coincide with winter in your local area.
You will likely come up with your own timing, but here is a good idea of how to time everything. Starting in November, you should let the nighttime temperatures get lower.
If you have lighting, start shortening the amount of time the lights are on. Leave the heater on during the day to make sure your snake can finish digesting its meals.
Many breeders offer extra food during late October and the first 2 weeks of November to help get their snakes’ weight up.
The final meal of the season should be at least 2 weeks before you will drop the temperatures. The last 2 weeks of November are a great time to stop feeding your snakes.
Step 3: Brumation
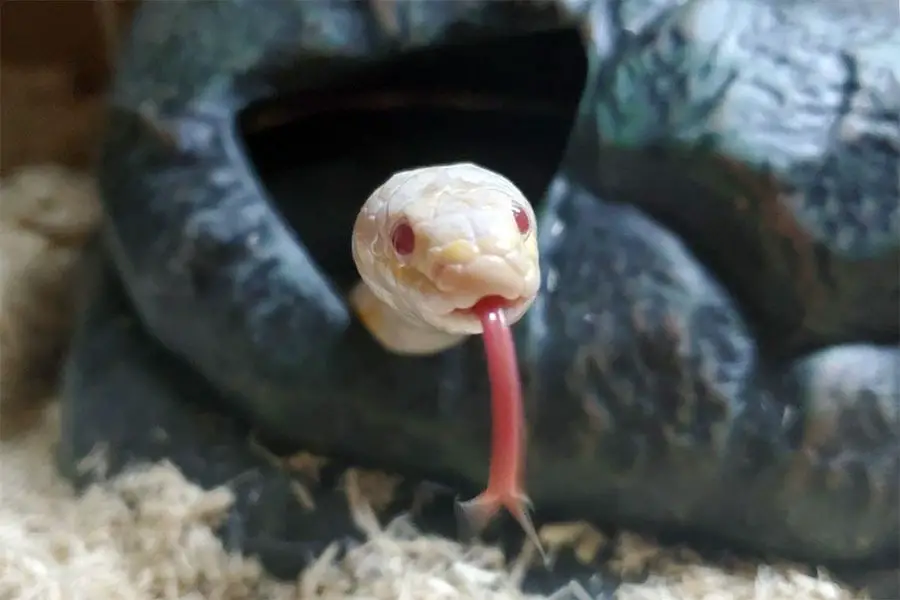
Brumation is the normal process for corn snakes. During winter, they become less active. Your snakes will only wake up to drink for the most part.
To induce brumation, you will need to lower the temperatures slowly over a week or so. You will want to drop the temperature to around 55 degrees for around 60-75 days. Don’t let the temperatures dip below 50 or go above 60.
This helps stimulate your snakes to breed. Keep the room dark and provide water for your snakes. Keep an eye on the humidity as well.
Your snakes may try to soak if the humidity is low, which can harm them since it is too cold. Your snakes may also shed, so try to watch out for this to avoid any problems.
You should try to leave them be, only disturb them when you need to clean or fill the water bowls.
Step 4: Waking Your Snakes
After the cooling period, you need to simulate spring. Turn on the lighting for about 9 hours to start and turn the heating back on.
You don’t need to do this gradually, since some breeders believe that this may make snakes more vulnerable to disease. Generally, you will turn the lights and heat back on at the start of March if you are following this exact timing plan.
Check your snakes once they wake up to make sure they are healthy. A healthy snake kept in the 50s during brumation will not lose much weight.
If it has lost a lot of weight or seems sickly, hold off on breeding. Otherwise, start by offering smaller meals a week after you turn up the heat.
You can gradually size up as your snake wakes up and gets back its usual appetite. You’ll want to feed your snakes 2-3 meals a week to help build up their reserves.
Males will refuse to eat once the breeding season starts, and females will use up a lot of energy making eggs. The better condition the parents are in, the more fertile eggs you will have.
Step 5: Pre-Breeding Shed
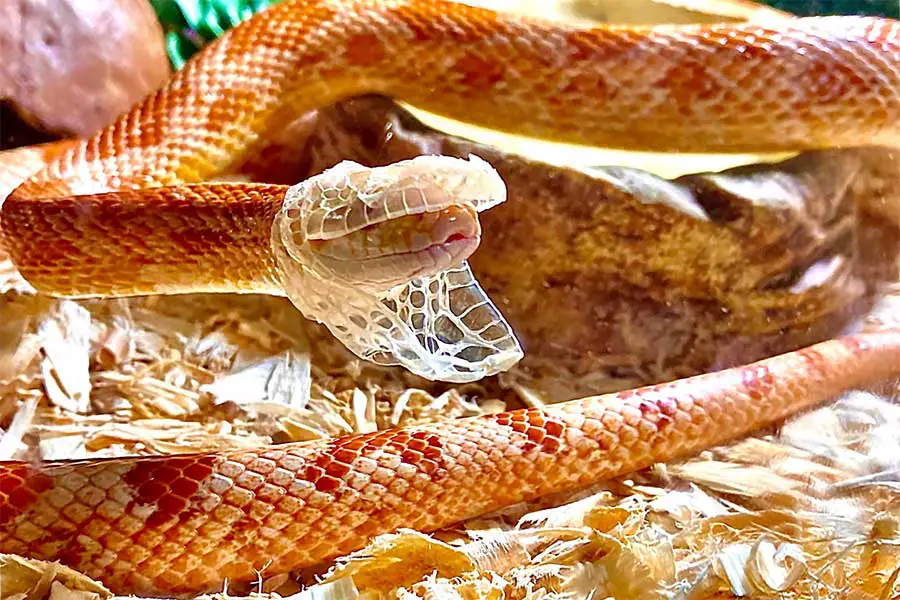
After a few weeks, you should see your snakes shed. This is the start of the breeding season. Males will typically shed first. If you keep your snakes in the same room, you will see the males begin to zoom around once they start catching the scent of the females. Once your females shed, it is time to introduce your snakes.
Step 6: Mating
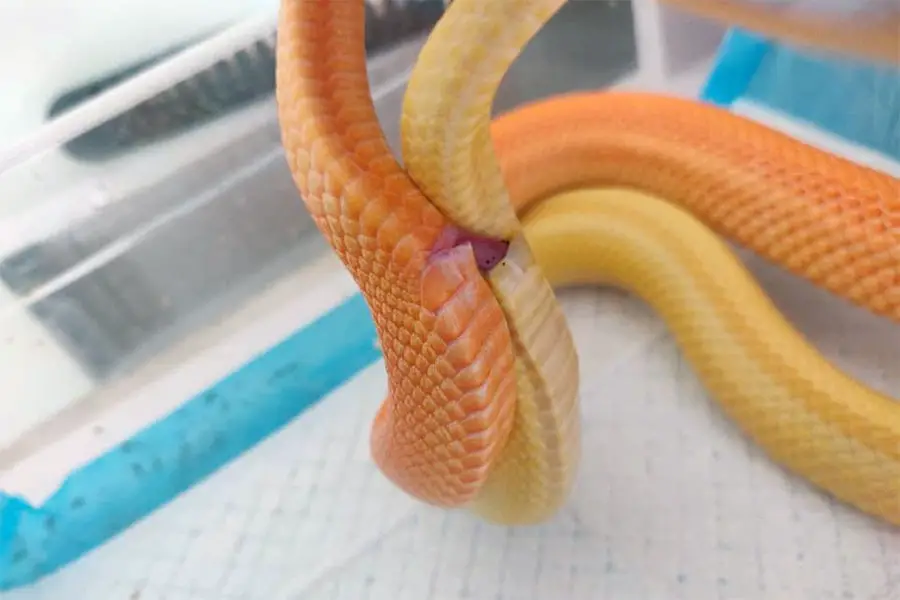
Mating is a pretty simple step. You should introduce the snakes to each other. Some breeders place the female in the male’s enclosure, others do it the other way around.
Either way, you need to watch your snakes closely during introductions. While corn snakes don’t typically eat other snakes, it can happen.
Watch how your snakes interact. The male should catch the scent of the female quickly and start courting her. He will typically chase her around, trying to catch her interest.
You may want to remove the water dish since they might knock it over. The male will typically try to position himself over the female and get her to lift her tail to allow copulation.
If she is receptive, she will lift her tail and allow for copulation. Once you see this occur, it is safe to leave your snakes to their business.
They may stay locked together for anywhere from 20-30 minutes, but it may take longer. Check on them occasionally until you see them separate.
Once they do, separate the snakes and allow them to rest.
You can just let them mate once, but you can do so multiple times or allow one male to breed multiple females.
Just give the male a few days in between to rest. You can typically introduce a pair about twice a week until the female is obviously gravid.
Step 7: Gravidity
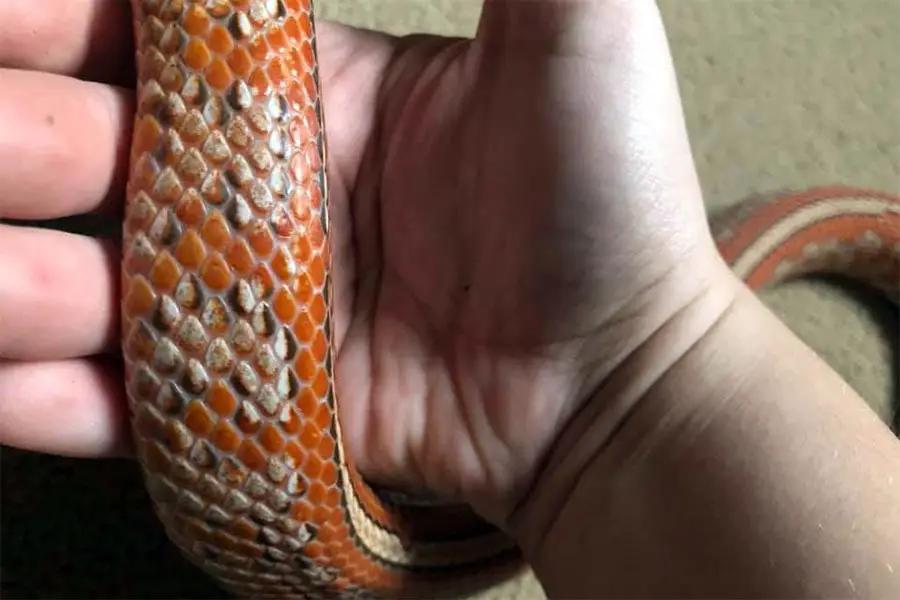
A gravid corn snake is obvious to a trained eye. You will notice the female develop a peak to her spine as the eggs take up space in her body.
They will push up organs and muscles to make room. If you lift a gravid female, you will notice that the belly scales above her cloaca will bulge outward slightly in comparison to the flat appearance of belly scales closer to the head. In light-colored females, you may even be able to see the eggs.
Once this happens, you no longer need to try to pair the snakes. If you are only breeding the male to the one female, now is the time to get him back onto normal feeding. You may need to move him into another room to convince him that the breeding season is over.
He should go back to normal feeding. The female will want to eat up until her eggs get too large for feeding to be comfortable. You should offer a meal twice a week.
It will take about 4-6 weeks for the female to weigh. Watch for the pre-lay shed. This occurs about 2 weeks before your snake lays her eggs. At this point, you need to make sure the humidity is at least 55% and offer a nesting box to her.
Step 8: Preparing to Lay
Once the pre-lay shed happens, you need to provide a suitable nesting box. This can be anything with a lid that allows your female to fit in it with plenty of room to spare. Look for something that will hold two snakes of her size so she has enough room for her eggs.
You can recycle something like a large yogurt container, or use a plastic box that will hold your snake. Make sure the hole is twice the width of your female so she won’t get stuck even when she is full of eggs. You will want to fill it with a moist substrate such as sphagnum moss.
Terrarium Sphagnum Moss
- Long-Lasting: Long-Fiber and Leafy Green Sphagnum Moss
- High Absorbency: Controls Tropical & Wetland Humidity
- Sustainable: Ecologically Regulated Harvests

Fill it up about halfway with the moss and keep it moist but not wet. The female will spend most of her time in the container as she prepares to lay. You will see her make a divot in the moss and stay there.
Check her once a day until you see her begin to lay. Make sure you have an incubator ready for your eggs. You can make a DIY version with an old enclosure and some spare heat pads.
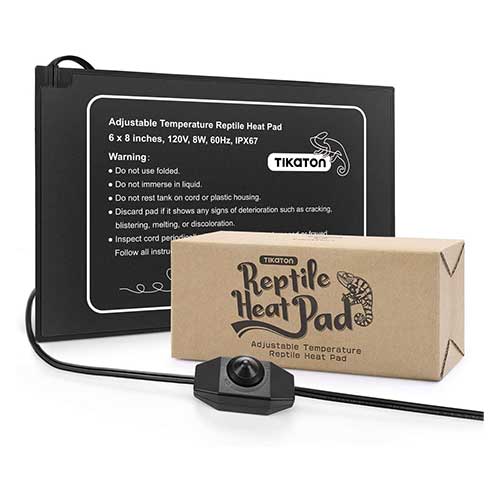
Tikaton Reptile Heat Pad
- Only uses 8 Watts of electricity to operate
- Power adjustable so you can use it in 10 up to 50 gallons enclosure.
- Zero risk of burning your snake
You can also buy an incubator to use to incubate eggs. Remember that reptile eggs need to be kept in the same position they were laid. Do not use an incubator meant for birds like chickens. These typically rotate the eggs and will kill your snakes.
Step 9: Laying and Readying for Incubation
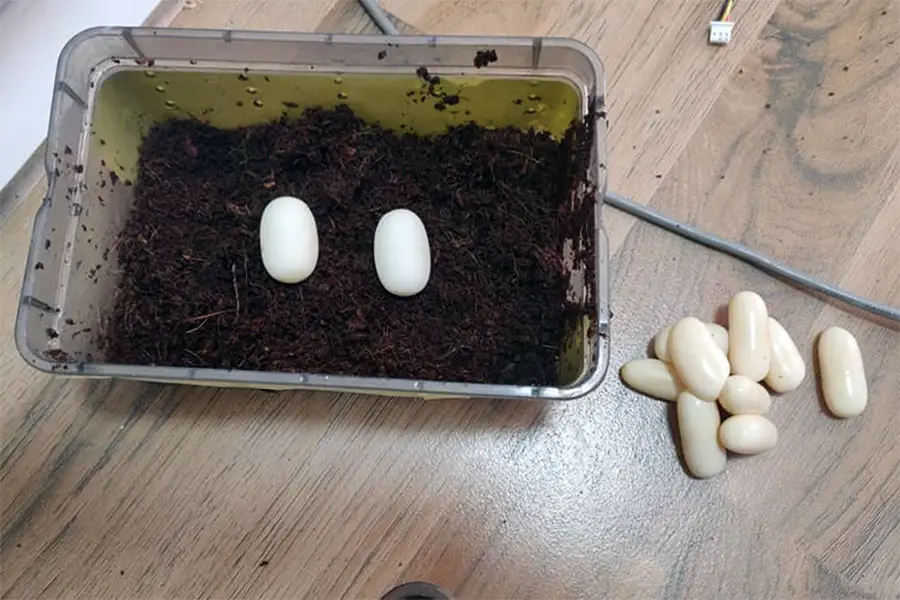
Once you see the first signs of eggs, you will want to prepare the incubation boxes. You can use basic food storage boxes with lids to hold the eggs.
Fill these with a moist medium like hatchrite to hold the eggs. You can also use moist vermiculite.
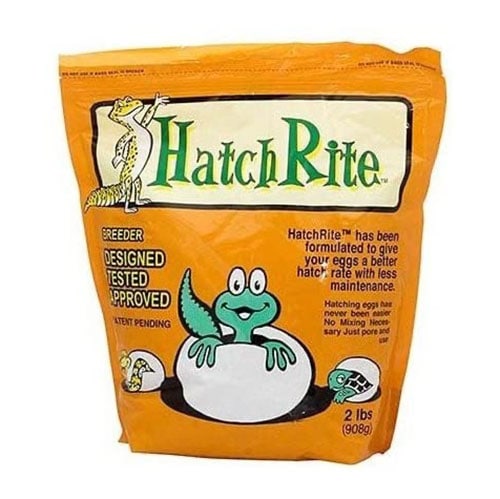
HatchRite Reptile Incubation Medium
- Breeder designed, tested and approved
- No mixing. Pour and use
- Holds the right amount of moisture, and is easy to clean up after the eggs hatch
Make sure this is at least an inch thick and poke holes in the lid to help ventilate. Once your snake is laying, leave her alone for 24 hours to give her time to pass all the eggs.
Then you can remove her and place the eggs in the incubation boxes. Be careful, she may not want to leave and will struggle. Do not rotate the eggs or try to separate them.
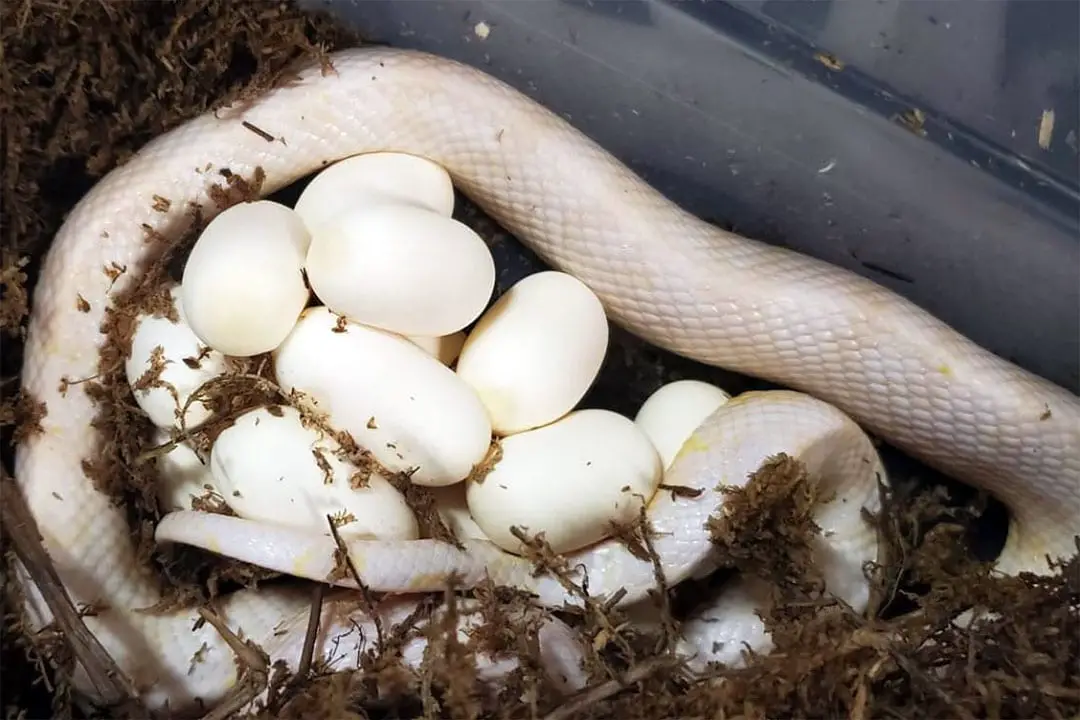
If you see any eggs that are obviously infertile, you can try to remove them if they aren’t stuck. Otherwise, just place the eggs in the containers and set this in the incubator. The average clutch size is 12 eggs, but young females may only produce 5.
Step 10: Incubation
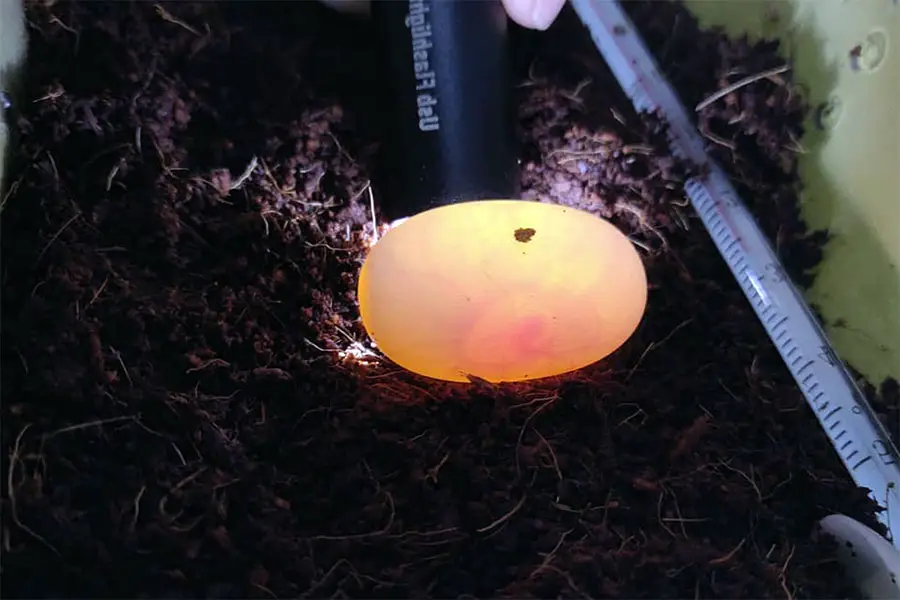
Now is the beginning of one of the most nerve-wracking parts of breeding snakes. Waiting for the eggs to hatch.
Set the incubator to stay around 80 degrees. Some variation is fine, but don’t go above 85 or under 72 degrees. You should see white, full eggs that aren’t overly moist. If they look more yellow, this might be an infertile or dead egg.
Reptile Eggs 25L Incubator
- Temperature can be adjusted from 36 to 140°F), providing a constant temperature incubation environment.
- Having a roomy 25L chamber volume and with a built-in handle, the incubator is easy to move around.

Check your eggs about once a week and leave the lid of the box off for an hour to let the air circulate. Snakes actually require outside oxygen in the egg, so make sure there is some air exchange weekly.
It typically takes around 8 weeks for corn snakes to hatch. During this time, you should make sure to feed the mother extra to help her regain her weight.
You can technically breed corn snakes twice, but a new breeder should not attempt this.
Making even one clutch takes a lot out of a female and you might not notice that she isn’t healthy enough for another batch of babies.
Young snakes and snakes that produced a small clutch of eggs in size or number should not be bred again since a small clutch can indicate that the female wasn’t healthy enough, to begin with.
Keep the humidity around 75-80% and watch the eggs for dimpling. This can indicate that the eggs are too dry and are dehydrating. Liquid on the eggs can mean the humidity is too high. Let the eggs air out a bit. If it has been close to 8 weeks, this can be a sign that the eggs are ready to hatch.
Step 11: Hatching
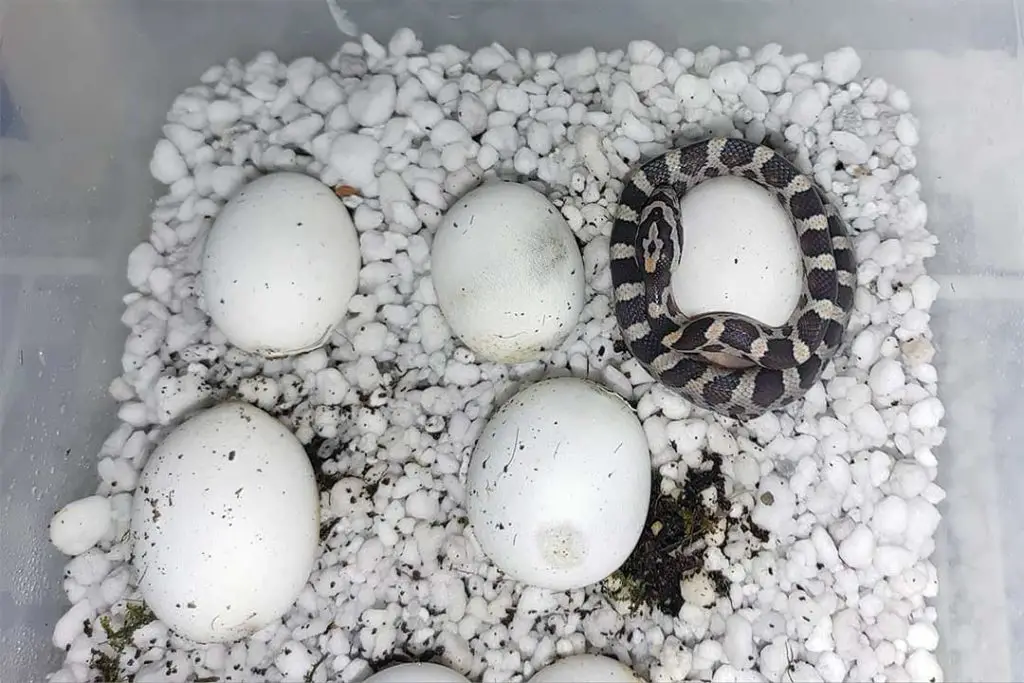
When you see signs of hatching, start watching your eggs more closely. The baby snakes will slit a hole in the egg with a special scale on the nose. The babies will then hang out in the egg until they finish absorbing the yolk. Never force a baby out of the egg.
Once you see the babies leave the eggs, you should remove them and place the babies in their own enclosure.
A small plastic shoebox with ventilation, a well-secured lid, paper towels, a small cardboard hide, and a small water dish are fine for hatchlings.
Remove the babies as they hatch since they can harm the other babies if left alone. Make sure you keep up the humidity and watch for the first shed.
Step 12: Caring for Snakelets
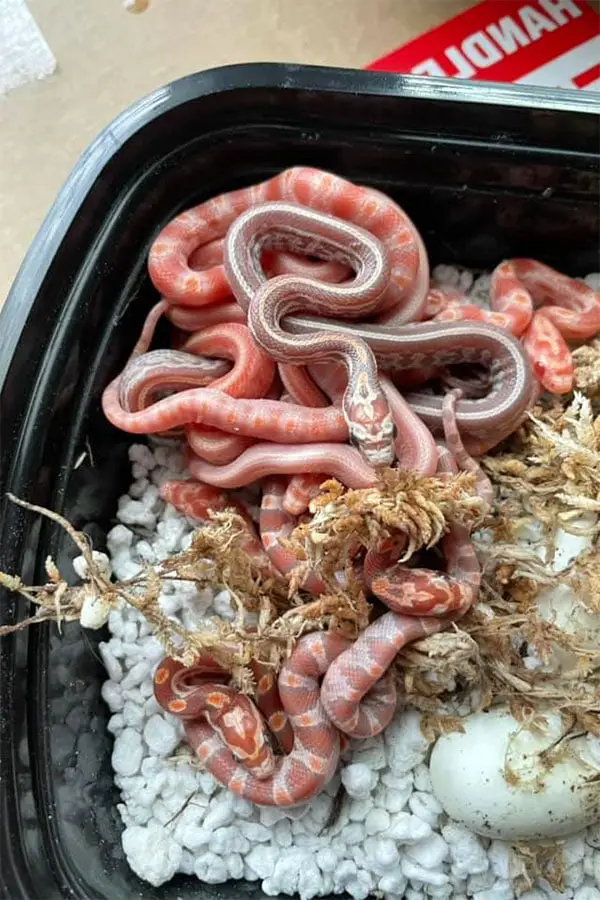
Brand new hatchlings will typically not want to eat until the first shed. This is typically after about a week. Once this happens, you can offer newborn mice as food.
Some corn snake hatchlings heavily prefer lizards for their first meals.
You can try scenting a mouse with a piece of shed lizard skin or frog juice to make it more appealing to babies.
You need the temperature to be around 85 on the hot side and 78 on the cool or so. Keep an eye on the babies and see where they spend their time.
If they spend all day over the hot spot, your snake is too cold. If they are always on the cold side, the hot spot is too warm. Humidity is the same as adults, so go with what works for the parents.
Selling or Keeping
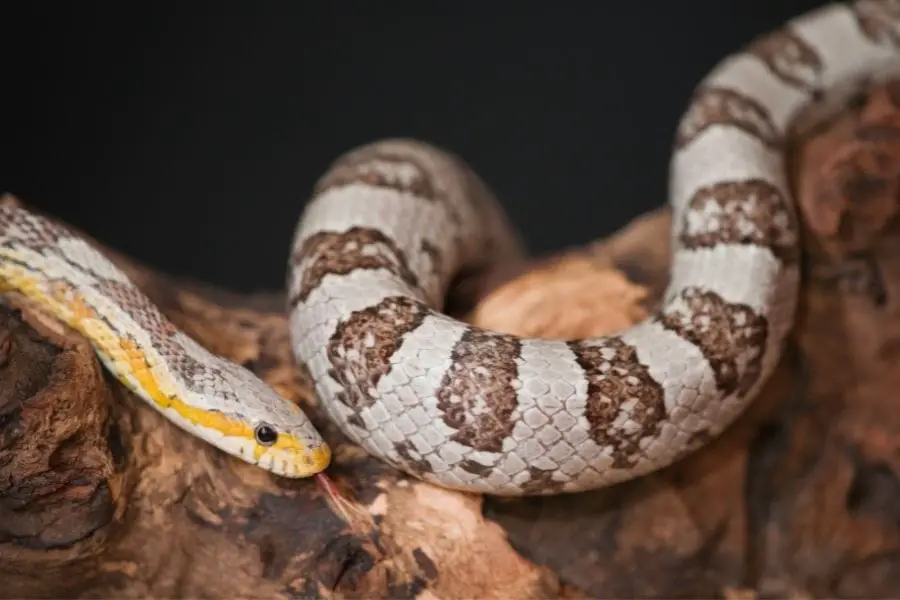
Once you have your babies, you will need to decide what to do with them. Any hatchlings need to eat between 3-5 meals without skipping before they should be offered to a new home.
Watch all the babies during this time for health issues.
You can consult an experienced breeder for help or ask a vet. The basics that should be checked are a good feeding response and overall physical health.
Make sure the babies have normal and functional jaws, that they breathe well, and don’t have any kinks to the spine. Babies should be fairly active and eating at least every 5 days.
You should also watch for signs of neurological problems like stargazing and wobbling in addition to protruding eyes or pinched faces.
All of these indicate possible genetic issues. Any snakes with these problems shouldn’t be bred and need to stay as pets. If you rehome them, make sure the new owner is aware.
Once you have confirmed health, any snakes you are keeping can be moved to a standard hatchling enclosure. Babies you want to sell can be kept in the initial enclosure until they either find a new home or grow to be twice the length of the current enclosure. Make sure the new owner knows how to care for a corn snake and has the right setup.
Preparing for Next Year
You have successfully completed your first breeding year. If you want to make more babies, be sure to feed your parent snakes plenty until it is time for brumation, then just follow the guide again.
Resources
- A Captive breeding program of the corn snake (elaphe guttata) with notes on survivorship of hatchlings
- Captive Care and Breeding of the Corn Snake, Elaphe guttata – Journal of Herpetological Medicine and Surgery (2001) 11 (4): 35–40.
Conclusion
Breeding corn snakes can be a very rewarding hobby.
Take good care of your snakes and you will be rewarded with many healthy babies for up to a decade from one pair.
If you have tips or questions, please leave them below!
